In the world of timber care and maintenance, the key to longevity and durability lies in regular inspections and timely repairs. Like a watchful guardian, inspecting and replacing damaged timber ensures the structural integrity of wooden structures, safeguarding them against the wear and tear of time.
Just as a skilled detective scrutinizes every clue, a thorough timber inspection involves a meticulous examination of various types of damage, from rot and decay to insect infestation. Armed with the right tools and equipment, this task becomes an art of precision and attention to detail.
This article serves as a comprehensive guide, providing step-by-step instructions on how to inspect and replace damaged timber effectively. By following these techniques, readers will gain the knowledge and skills necessary to undertake regular maintenance and care, allowing them to take control of the well-being of their timber structures.
Key Takeaways
- Regular inspections and timely repairs are crucial for the longevity of timber structures.
- Thorough timber inspections involve examining various types of damage, including rot, decay, and insect infestation.
- Choosing the appropriate replacement timber that is compatible in species, quality, and preservation is essential.
- Proper installation techniques and regular maintenance practices are necessary for preserving timber and extending its lifespan.
Importance of Regular Timber Inspections
Regular timber inspections are of utmost importance in order to identify and address any damage or deterioration in a timely manner, ensuring the longevity and structural integrity of the timber. Conducting regular inspections allows for the early detection of any issues, enabling prompt intervention before the damage worsens. By implementing a proactive approach to timber care and maintenance, the benefits of timber preservation can be maximized.
Common causes of timber damage include moisture exposure, insect infestation, and mechanical stress. Moisture can lead to timber decay and rot, compromising its strength and stability. Insect infestation, such as termites, can weaken the timber by feeding on its cellulose content. Additionally, mechanical stress from excessive loads or improper installation techniques can result in cracks or splits in the timber.
Understanding the different types of timber damage is crucial for effective inspection and subsequent repair or replacement.
Ready to protect your timber and ensure its longevity? Dive into our comprehensive guide to timber care and maintenance. Get Started!
Types of Timber Damage
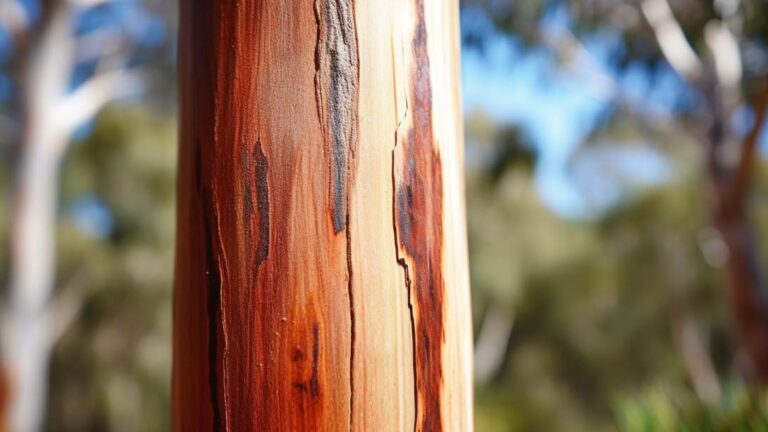
Irregularities in the surface of wood can be likened to the footprints left behind by time, revealing the various types of damage that can occur. It is crucial to identify and understand these types of timber damage to effectively repair and prevent further deterioration.
One common type of damage is surface erosion, which is caused by weathering and can lead to splintering and cracking.
Another type is fungal decay, which weakens the timber structure and compromises its integrity.
Insect infestation, such as termites or wood borers, can also cause significant damage by feeding on the wood fibers.
Additionally, mechanical damage, like cuts and dents, can occur during construction or due to accidental impacts.
Recognizing these types of timber damage allows for targeted repair and appropriate preventive measures. Moving forward, understanding the tools and equipment for timber inspection will aid in thorough assessments.
Tools and Equipment for Timber Inspection
In order to effectively inspect timber for damage, it is important to have the appropriate tools and equipment at hand.
Basic inspection tools such as a flashlight, tape measure, and magnifying glass are essential for examining the condition of the timber.
Additionally, safety equipment such as gloves, safety glasses, and a hard hat should be worn to protect oneself from any potential hazards during the inspection process.
Basic Inspection Tools
To effectively inspect and replace damaged timber, it is essential to utilize basic inspection tools. These tools are crucial in identifying common timber defects and assessing the extent of damage. Here are four basic inspection tools that can aid in the process:
- Flashlight: A powerful flashlight helps illuminate dark areas and reveal hidden defects such as rot, cracks, or insect infestation.
- Tape measure: Measuring the dimensions of timber can provide valuable information about its structural integrity and potential for replacement.
- Magnifying glass: A magnifying glass is useful for examining small details and identifying signs of decay or damage that may not be visible to the naked eye.
- Hammer: A hammer is utilized to tap the timber and listen for hollow sounds, which could indicate decay or internal damage.
By using these basic inspection tools, individuals can thoroughly assess the condition of timber and determine the appropriate course of action for repair or replacement.
In the next section, we will discuss the importance of safety equipment when working with timber.
Safety Equipment
The utilization of appropriate safety equipment is a crucial aspect of ensuring the well-being of individuals involved in working with timber. Safety gear such as goggles, gloves, and ear protection should be worn to protect against potential hazards.
Goggles shield the eyes from flying debris and sawdust, while gloves provide protection against splinters and cuts. Additionally, ear protection is essential to prevent hearing damage caused by loud machinery.
In addition to safety gear, individuals should also wear protective clothing, such as long sleeves and pants, to minimize the risk of injury. By using these safety measures, workers can significantly reduce the likelihood of accidents and injuries while inspecting and replacing damaged timber.
Transitioning into the subsequent section about the step-by-step guide to inspecting timber, it is important to understand the key indicators of damage and how to address them effectively.
Step-by-Step Guide to Inspecting Timber
A comprehensive inspection of timber involves a step-by-step process to identify and replace damaged sections.
The timber inspection process begins by visually examining the timber for any signs of damage such as cracks, splits, or decay. It is important to thoroughly inspect all surfaces of the timber, including the ends, as damage can occur in these areas as well.
Additionally, a tactile inspection can be performed by gently tapping the timber with a hammer to listen for any hollow sounds, indicating decay or rot.
If any damage is found, it is crucial to replace the damaged sections promptly to prevent further deterioration and maintain the structural integrity of the timber.
Transitioning into the subsequent section on how to replace damaged timber, it is imperative to follow a systematic approach to ensure a successful repair.
How to Replace Damaged Timber
This discussion will focus on the process of replacing damaged timber. The steps involved include:
- Carefully removing the damaged timber, ensuring that surrounding areas are not affected in the process.
- Selecting the appropriate replacement timber. Factors to consider include durability, size, and species compatibility.
- Employing proper installation techniques to ensure the structural integrity and longevity of the replacement timber.
Removing the Damaged Timber
To effectively remove damaged timber, several steps can be taken to ensure a successful inspection and replacement process. Firstly, it is crucial to identify the extent of the damage and determine whether the timber can be repaired or needs to be replaced entirely. Various repair methods, such as filling cracks or using epoxy resins, can be employed to restore the timber’s integrity. However, if the damage is severe or compromises the structural integrity of the timber, replacement is often necessary. Once the decision to replace the timber has been made, it is important to carefully remove the damaged section while minimizing further damage to surrounding areas. This can be accomplished by using tools such as a chisel or saw to carefully extract the damaged timber. By following these steps, the inspection and replacement process can be carried out effectively, ensuring the longevity and stability of the timber structure. Moving forward, the next section will discuss the importance of choosing the right replacement timber.
Choosing the Right Replacement Timber
Selecting the appropriate replacement material is crucial for ensuring the structural integrity and long-term stability of the timber structure. When assessing damaged timber, it is important to consider the following timber replacement options:
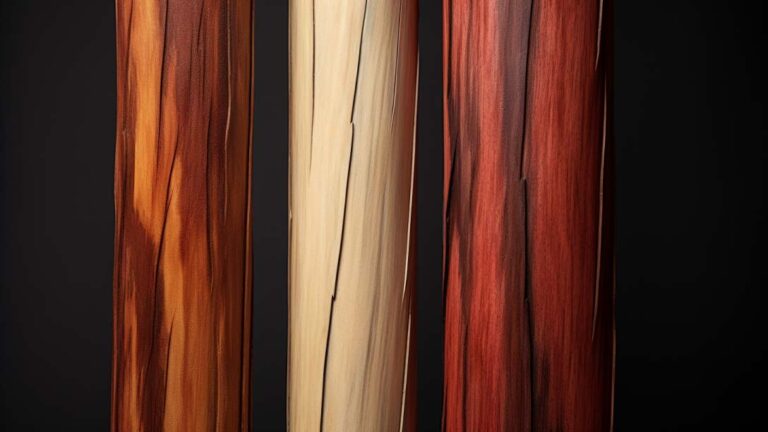
- Compatibility: Choose a replacement timber that is similar in species, density, and moisture content to the original timber. This helps maintain the overall aesthetics and structural performance of the timber structure.
- Quality: Opt for high-quality replacement timber that is free from defects such as knots, splits, or decay. This ensures that the new timber will be able to withstand the same stresses and loads as the original timber.
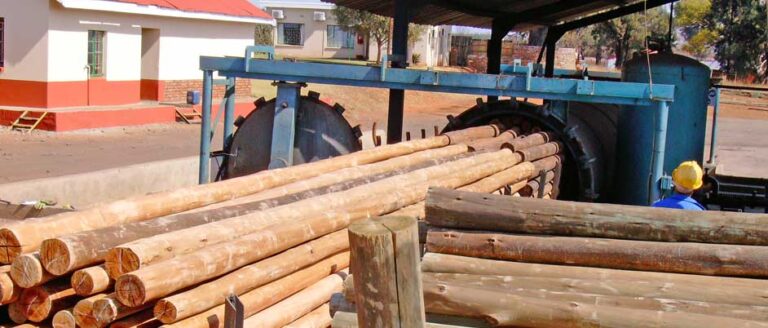
- Preservation: Consider using pressure-treated timber as a replacement, especially in areas prone to moisture or insect damage. Pressure-treated timber is infused with preservatives that protect against rot, decay, and insect infestation.
By carefully selecting the right replacement timber, you can ensure the longevity and durability of your timber structure. Proper installation techniques will further enhance the performance and functionality of the replacement timber.
Proper Installation Techniques
In order to ensure the successful replacement of damaged timber, it is crucial to employ proper installation techniques. These techniques not only guarantee the stability and longevity of the replacement timber, but also minimize the risk of future damage. When installing new timber, it is important to consider timber protection measures, such as using appropriate sealants or treatments to safeguard against moisture, insects, and other environmental factors. Additionally, proper installation techniques involve ensuring a tight fit between the replacement timber and the existing structure, as well as using the correct fasteners and connectors to secure the timber in place. By following these guidelines, the replacement timber will integrate seamlessly into the structure, providing the necessary support and maintaining the overall integrity of the timber framework. Transitioning into the subsequent section about regular timber maintenance and care, it is essential to establish a routine maintenance plan to prolong the lifespan of the timber.
Regular Timber Maintenance and Care
Regular timber maintenance and care entails regularly inspecting and replacing damaged timber to ensure its longevity and structural integrity. Preventing timber decay is crucial in maintaining the overall condition of timber.
One of the most common timber maintenance mistakes is neglecting regular inspections. By conducting routine inspections, any signs of decay or damage can be identified early on, allowing for prompt action to be taken. Inspecting timber involves checking for signs of rot, insect infestation, cracks, and warping. Any damaged timber should be promptly replaced to prevent further deterioration and maintain the structural stability of the timber.
Additionally, regular cleaning and sealing of timber surfaces can help protect against moisture, UV damage, and other environmental factors that can contribute to decay. By implementing these regular maintenance practices, timber can be preserved and its lifespan extended.