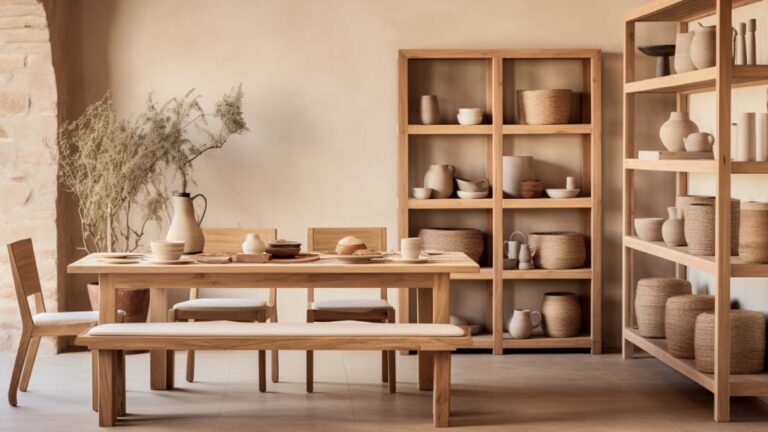
Are you ready to embark on a DIY project that will not only demonstrate your craftsmanship, but also enhance the elegance of your living space? Look no further than creating a stunning bookshelf using treated eucalyptus timber.
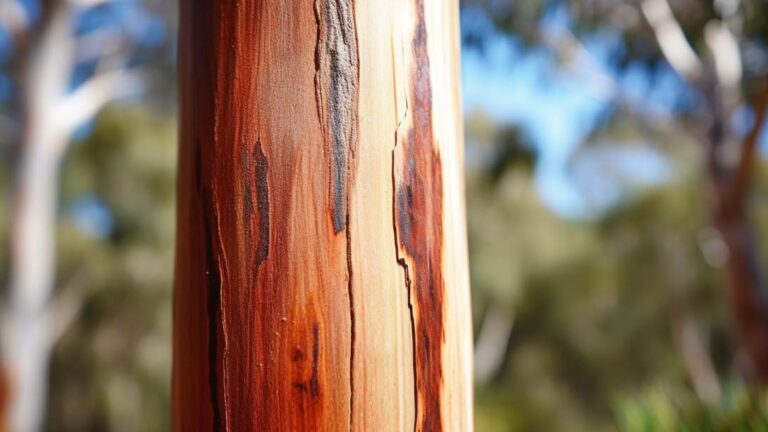
This exceptional timber, known for its durability and resistance to decay, will ensure a long-lasting and reliable piece of furniture that will withstand the test of time.
In this article, we will guide you through the step-by-step process of constructing an elegant bookshelf that exudes both practicality and sophistication. Our precise instructions, detailed measurements, and industry-specific terminology will provide you with the necessary knowledge and expertise to successfully complete this project.
With an emphasis on functionality and structural integrity, we will prioritize the construction techniques required to create a sturdy bookshelf that will not only hold your cherished collection of books, but also serve as a statement piece in your home.
So, take control of your DIY journey and join us as we delve into the world of treated eucalyptus timber and its limitless possibilities.
Key Takeaways
- Treated eucalyptus timber is a durable and decay-resistant material for DIY projects.
- Proper measuring and cutting of the timber ensures seamless assembly.
- Sanding and finishing the wood is essential for a smooth surface.
- Consider incorporating decorative accents and strategic lighting for a visually appealing bookshelf design.
Gather the Necessary Materials and Tools
To begin creating an elegant bookshelf using treated eucalyptus timber, it is important to gather the necessary materials and tools.
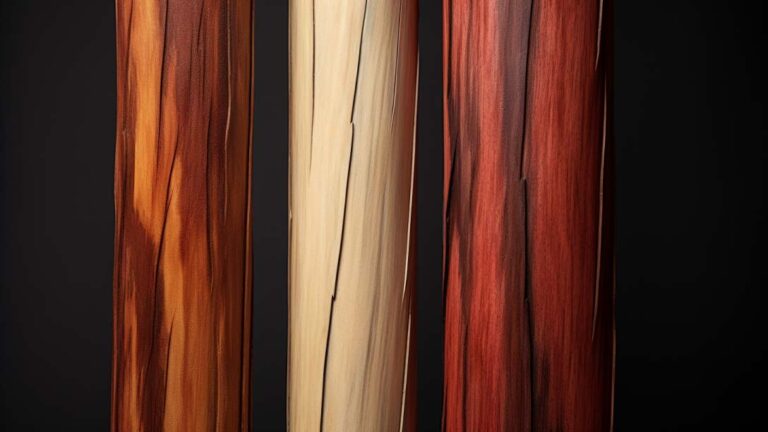
Sourcing timber is the first step in this process. Choose treated eucalyptus timber that is of high quality and suitable for indoor use. Ensure that the timber is properly dried to prevent warping or shrinking over time. Additionally, consider the dimensions and quantity of timber required based on the desired size of the bookshelf.
Next, choose the right tools for the project. Essential tools include a tape measure, circular saw or miter saw, drill, screws, and a level. These tools will enable precise measurements, accurate cuts, and secure assembly.
With the necessary materials and tools in hand, the next step is to measure and cut the eucalyptus timber, ensuring each piece is the correct size for the bookshelf.
Ready to let your creativity take flight with eucalyptus timber? Get all the guidance you need to create extraordinary projects. Jump into our comprehensive guide now to explore the endless possibilities of crafting with treated eucalyptus timber poles. Discover more today and let your crafting journey begin.
Measure and Cut the Eucalyptus Timber
Measurements and cuts of the eucalyptus timber are executed with precision, ensuring uniformity and accuracy in the construction process of the bookshelf.
To achieve this, the following techniques and tips for measuring and cutting timber should be considered:
- Use a tape measure or ruler to measure the desired lengths of the timber accurately.
- Mark the measurements clearly on the timber using a pencil or marking gauge.
- Double-check the measurements before making any cuts to avoid any errors.
- Use a square or bevel gauge to ensure perpendicular and accurate cuts.
- Use a sharp handsaw or power saw to make the cuts smoothly and cleanly.
By employing these measuring techniques and cutting tips, the eucalyptus timber can be precisely measured and cut, resulting in pieces that fit together seamlessly during the assembly process.
This attention to detail will ensure the successful creation of a sturdy and reliable bookshelf frame.
Assemble the Bookshelf Frame
The assembly process of the bookshelf frame involves carefully joining the pre-cut eucalyptus timber pieces together, ensuring a sturdy and cohesive structure.
To begin, select an appropriate adhesive for assembling the frame. Epoxy or wood glue are commonly used options, providing strong bonds that withstand the weight of books and other items. Apply the adhesive to the mating surfaces of the timber pieces, following the manufacturer’s instructions for optimal results.
Secure the joints by clamping the pieces together until the adhesive dries completely.
To enhance the look of the bookshelf frame, consider adding decorative accents such as trim or molding. These can be attached using finishing nails or adhesive, depending on the desired aesthetic and level of durability.
Once the frame is assembled and any decorative accents are in place, it is time to sand and finish the wood, providing a smooth and polished surface for the subsequent steps of the project.
Sand and Finish the Wood
Once the frame is assembled and the decorative accents are in place, the wood can be sanded and finished to create a smooth and polished surface. To achieve a professional-quality finish, follow these wood sanding techniques:
- Start with a coarse grit sandpaper (around 80-100 grit) to remove any rough spots or imperfections.
- Gradually work your way up to finer grit sandpaper (around 220-320 grit) to smooth out the wood and remove any visible scratches.
- Use a sanding block or orbital sander to ensure even sanding and avoid uneven surfaces.
- Pay attention to the edges and corners to achieve a consistent finish throughout the bookshelf.
After sanding, wipe away any dust with a clean cloth before applying the wood finish.
Choosing the right wood finish is crucial for both protection and aesthetics. Consider factors such as the desired color, level of sheen, and the durability required. Options include varnish, wood stain, or a combination of both.
To attach the shelves and backboard, follow the next section.
Attach the Shelves and Backboard
To securely attach the shelves and backboard, it is important to follow the appropriate methods and techniques. Begin by measuring and marking the desired placement of the shelves on the eucalyptus timber frame. Use a level to ensure accurate alignment.
To achieve a seamless look, consider utilizing techniques for securing shelves and backboards without visible screws. One option is to use hidden shelf brackets, which can be attached to the timber frame and provide strong support without compromising aesthetics. Additionally, alternative materials for backboards in DIY bookshelf projects include tempered glass or acrylic panels, which add a modern touch and allow for easy visibility of books and decorative items.
By considering these techniques and materials, you can create a sturdy and stylish bookshelf using treated eucalyptus timber.
In the next section, we will explore how to display and enjoy your elegant bookshelf seamlessly within your space.
Display and Enjoy Your Elegant Bookshelf
Implementing thoughtful design choices and incorporating elements such as strategic lighting, curated book displays, and tasteful decorative accents can enhance the overall aesthetic appeal and functionality of your meticulously crafted bookshelf.
When it comes to organizing and decorating your bookshelf, styling tips can help you create an elegant and visually pleasing display. Consider arranging books both vertically and horizontally to add visual interest and variety. Utilize decorative objects such as vases, sculptures, or framed photographs to break up the monotony of the books. Experiment with different color schemes and textures to create a cohesive and visually appealing arrangement.
Additionally, a bookshelf can serve multiple purposes in your home. Besides storing books, it can also be used to display family heirlooms, collectibles, or even a small indoor garden. By considering these styling tips and finding creative ways to utilize your bookshelf, you can transform it into a functional and aesthetically pleasing focal point in your space.