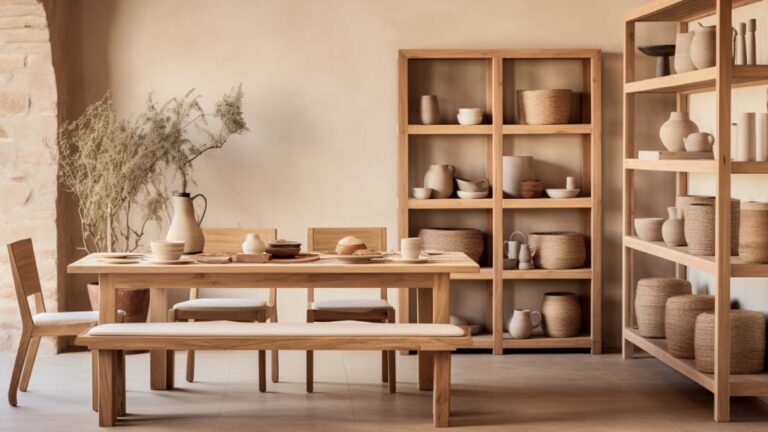
In the realm of do-it-yourself projects, few materials are as versatile and durable as treated eucalyptus timber. Its inherent strength and resistance to decay make it an ideal choice for crafting a variety of outdoor structures.
One such project is the creation of a timber sandbox, which not only provides a fun and safe play area for children but also adds a touch of natural beauty to any backyard.
This article serves as a simple guide to crafting a timber sandbox using treated eucalyptus timber. From gathering the necessary materials and tools to personalizing and decorating the finished product, each step is outlined in detail to ensure a successful and satisfying DIY experience.
With a focus on practicality and durability, this guide is designed to empower readers who desire control over their outdoor projects.
By following the step-by-step instructions provided, readers will be able to create a timber sandbox that not only withstands the test of time but also enhances the aesthetic appeal of their outdoor space.
So, let’s dive into the world of DIY using treated eucalyptus timber and embark on a rewarding journey of creativity and craftsmanship.
Key Takeaways
- Treated eucalyptus timber is versatile, durable, and ideal for outdoor structures.
- Accurate measuring and cutting of timber is important for a sturdy sandbox.
- Adding a protective liner prevents contact between timber and sand, reducing the risk of splinters and moisture damage.
- Personalizing and decorating the sandbox adds charm and character to the project.
Gather Your Materials and Tools
In order to successfully complete a timber sandbox project using treated eucalyptus timber, it is imperative to gather all the necessary materials and tools.
When choosing the right sand for your timber sandbox, it is important to consider factors such as grain size and texture. Opt for sand that is clean and free from debris, providing a safe and enjoyable play area for children.
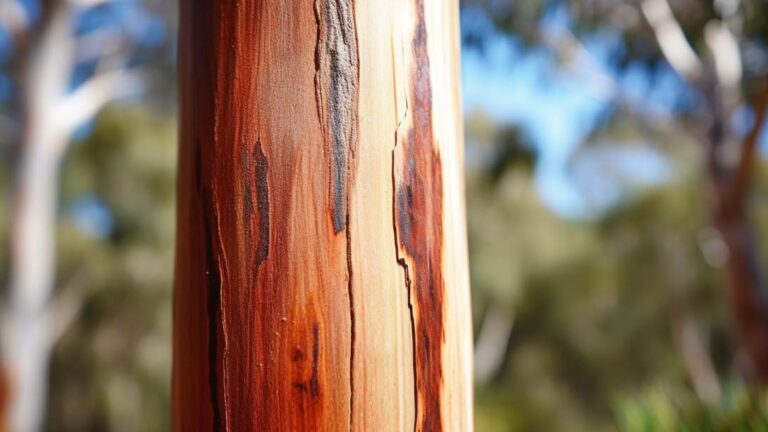
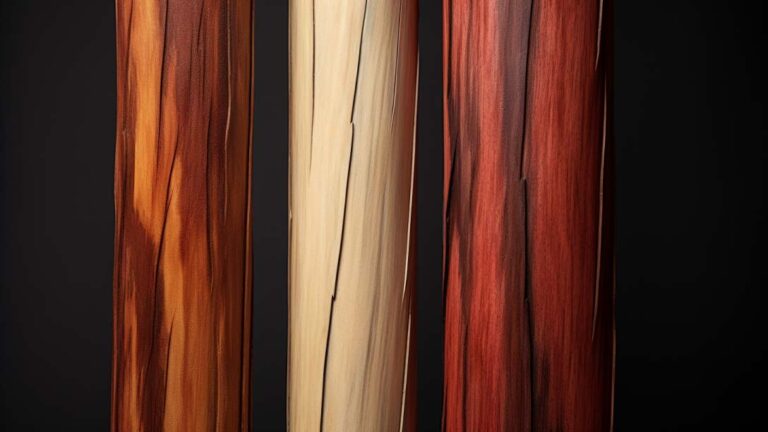
Treated eucalyptus timber is an excellent choice for DIY projects due to its durability, resistance to rot and pests, and natural beauty. It is important to select eucalyptus timber that has been properly treated to ensure longevity and protect against environmental elements.
Once all the materials and tools are gathered, the next step is to measure and cut the eucalyptus timber, ensuring precision and accuracy in the construction process.
Measure and Cut the Eucalyptus Timber
To ensure precise measurements and accurate cuts, the dimensions of the eucalyptus timber can be likened to the strokes of a skilled painter, each one contributing to the harmonious construction of the timber sandbox.
Measuring techniques for accurate cuts are crucial in creating a sturdy and well-fitted sandbox. Start by using a high-quality tape measure to measure the required lengths for the timber pieces. Ensure the tape measure is held firmly against the timber to avoid any inaccuracies.
Additionally, consider using a speed square or a combination square to ensure square cuts by aligning the square against the timber edges before marking and cutting.
When choosing the right tools for cutting timber, a circular saw or a miter saw can provide clean and precise cuts. These tools allow for easy adjustment of angles and cutting depths, ensuring accurate and efficient cuts.
Once the eucalyptus timber is measured and cut, it is time to assemble the sandbox frame, seamlessly transitioning into the subsequent section.
Assemble the Sandbox Frame
The assembly of the sandbox frame involves carefully joining the measured and cut pieces of timber together to create a sturdy foundation for the subsequent steps.
When considering alternative materials for a sandbox frame, eucalyptus timber stands out due to its numerous benefits for outdoor projects. Firstly, eucalyptus timber is naturally resistant to decay and insect damage, making it an ideal choice for a long-lasting sandbox frame. Additionally, it is a sustainable option as eucalyptus trees grow quickly and can be harvested responsibly.
To assemble the sandbox frame, align the cut pieces of timber according to the measured dimensions and use screws or nails to secure them in place. Ensure that the corners are square and the frame is level before moving on to the next step of treating the timber for durability.
Ready to let your creativity take flight with eucalyptus timber? Get all the guidance you need to create extraordinary projects. Jump into our comprehensive guide now to explore the endless possibilities of crafting with treated eucalyptus timber poles. Discover more today and let your crafting journey begin.
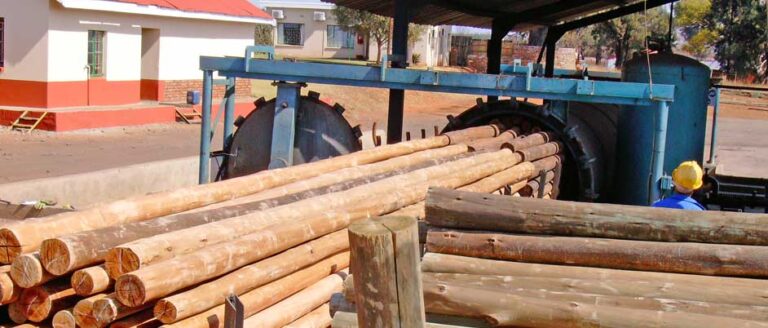
Treat the Timber for Durability
For optimal longevity, the timber should undergo a treatment process that enhances its durability and safeguards against decay and insect damage.
Treating eucalyptus timber before using it for outdoor projects, such as building a timber sandbox, offers several benefits. First, treating the timber helps to prevent moisture absorption, which can lead to warping, cracking, and rotting over time. This is particularly important for outdoor projects that are constantly exposed to the elements.
Second, treating the timber with a suitable preservative helps to deter insects, such as termites and beetles, that can cause significant damage to the wood. By applying a protective coating, the timber can withstand the harsh outdoor environment and remain in good condition for an extended period.
After treating the timber, the next step involves adding a protective liner and filling the sandbox with sand.
Add a Protective Liner and Fill with Sand
Adding a protective liner and filling the sandbox with sand ensures that the eucalyptus timber remains well-preserved and provides a safe and enjoyable play space for children.
The advantages of using a protective liner in a timber sandbox are numerous. Firstly, it prevents direct contact between the timber and the sand, reducing the risk of splinters and the deterioration of the wood due to moisture. Secondly, it acts as a barrier, preventing weeds, pests, and other unwanted materials from entering the sandbox. Lastly, it makes cleaning and maintenance much easier, as the liner can be easily removed and cleaned or replaced if necessary.
When it comes to choosing the right sand, options such as play sand, fine sand, or washed river sand are suitable for filling a timber sandbox. These options are clean, non-toxic, and ideal for sandcastles and other creative play.
Transitioning into the next section, personalizing and decorating your timber sandbox allows you to add a touch of creativity and make it truly unique.
Personalize and Decorate Your Timber Sandbox
To elevate the aesthetic appeal of your wooden sandbox, consider infusing it with your own unique style through personalized decorations. Personalizing and decorating your timber sandbox not only adds charm and character but also enhances the overall play experience for children.
There are numerous creative sandbox designs for kids that you can explore to make your sandbox stand out. From painting colorful patterns or designs on the sides to adding stencils or decals, the possibilities are endless.
Additionally, you can incorporate DIY sandbox accessories and toys to further enhance the playtime. Consider adding a small canopy or umbrella for shade, building a storage bench for toys, or attaching a chalkboard panel for artistic expression.
By incorporating personalized decorations and accessories, you can create a one-of-a-kind timber sandbox that will captivate children’s imaginations and provide endless hours of fun.